In order to do that, we're going to need a steno machine for each person attending the workshop, and since it's just a taste of steno, we have to make it as low-commitment as possible to hook in as many people as might be even vaguely interested. It's looking promising that we won't have to charge an extra fee for participants, which means that either the conference or I or both of us together will have to pick up the cost of the steno machines. If we were to buy 10 new Stentura Proteges, the standard entry-level student steno machine, at sticker price, we'd have to shell out a cool $17,450. That's just not gonna happen, nor should it. We're not roping these people into a lifetime commitment to stenography as a profession. We're showing them the cool things it can do and encouraging them to fit it into their life as a hobby or as an ergonomic tool in their daily work life. Clearly we've got to get that $1,745 price tag way, way, way down. From its inception, Plover has been designed to work with any qwerty keyboard that offers n-key rollover. But the staggered columns and square keys of the typical qwerty layout are tricky to adapt to the parallel columns and vertical keys of the steno layout, especially for beginners. I can write steno on an undoctored qwerty keyboard fairly easily, though I do have to sacrifice a certain amount of speed and accuracy. But I've heard a lot of would-be Plover users tell me that it's just too tricky to wrap their minds around being able to press, for instance, the "W" key and the "S" key with the same finger at the same time. It feels alien to them. Initially I tried to solve the problem with the application of leather keypads designed for steno machines, but while they helped hint at the proper alignment, they didn't have enough stiffness to really compensate for the staggered nature of the qwerty layout.
Back in 2010 I posted an entry about Abigail's brilliant stenohack. She had an old junker manual steno machine that she'd gotten for cheap, and she scavenged it for its keys, then affixed them to her sidewinder with mounting foam. It worked well for her, but it wasn't easily replicable, because old steno machines can be hard to come by, and individual steno keys sell for $7 apiece (a minimum of $154 for a complete set!) online.
So I think I've finally found a low-cost kludge that could hopefully make a big, big difference. You remember last month when I bought the iStenopad overlay, to use with the free-as-in-beer steno software that's available for the iPad? It didn't work well at all. The silicone cells were too thin and too mushy to offer anything in the way of haptic feedback, and my fingers kept sliding around all over the place, making for dismal accuracy and a very frustrating experience. But I'd spent $45 on that thing, plus $10 shipping, and it irked me that it had just been a big waste of money. So after staring at it for a few weeks, an idea occurred to me -- since it's not useful as an overlay, could it be turned into a mold?

Mann Ease Release lubricant, EasyCast clear casting epoxy, drinking straws for pipetting, plastic cups for mixing, plastic swizzle sticks for stirring, and the iStenopad overlay-cum-mold
I bought some epoxy resin casting materials and some silicone mold lubricant at an art store and gave it a try.


It was actually really easy. Five minutes to let the lubricant settle, five more for the mixing and pipetting process, 24 hours to cure, and bingo! A full set of lovely epoxy steno keys, at pennies a set; for $25, I got enough EasyCast to make 20 or 30 sets, with resin to spare.
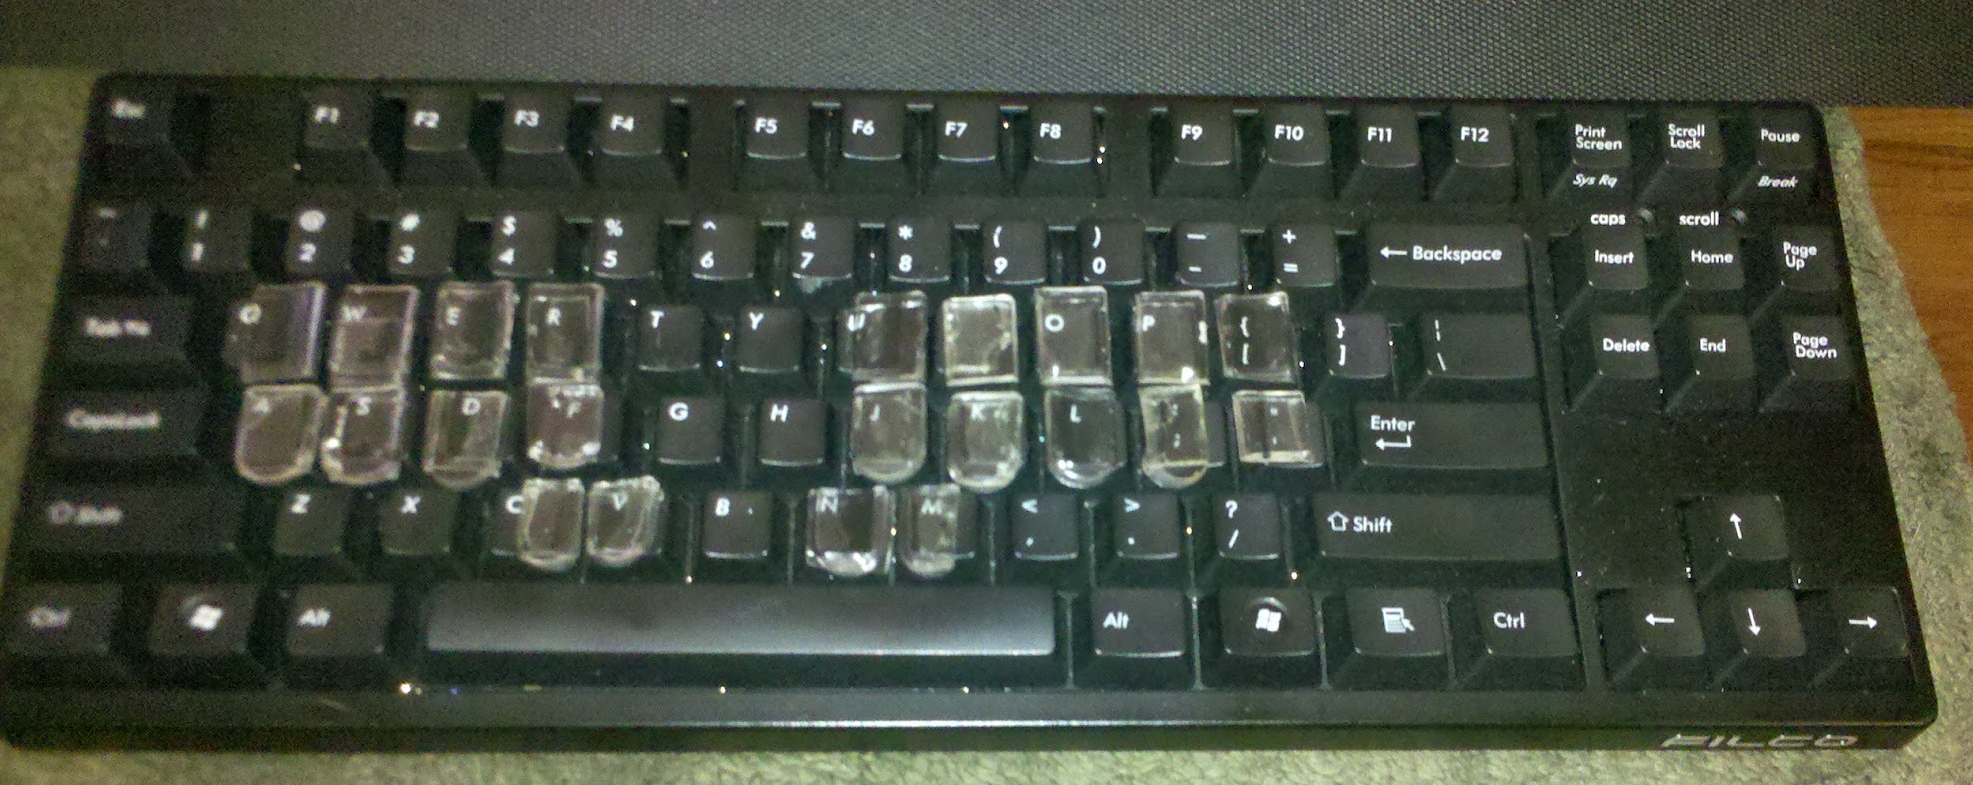
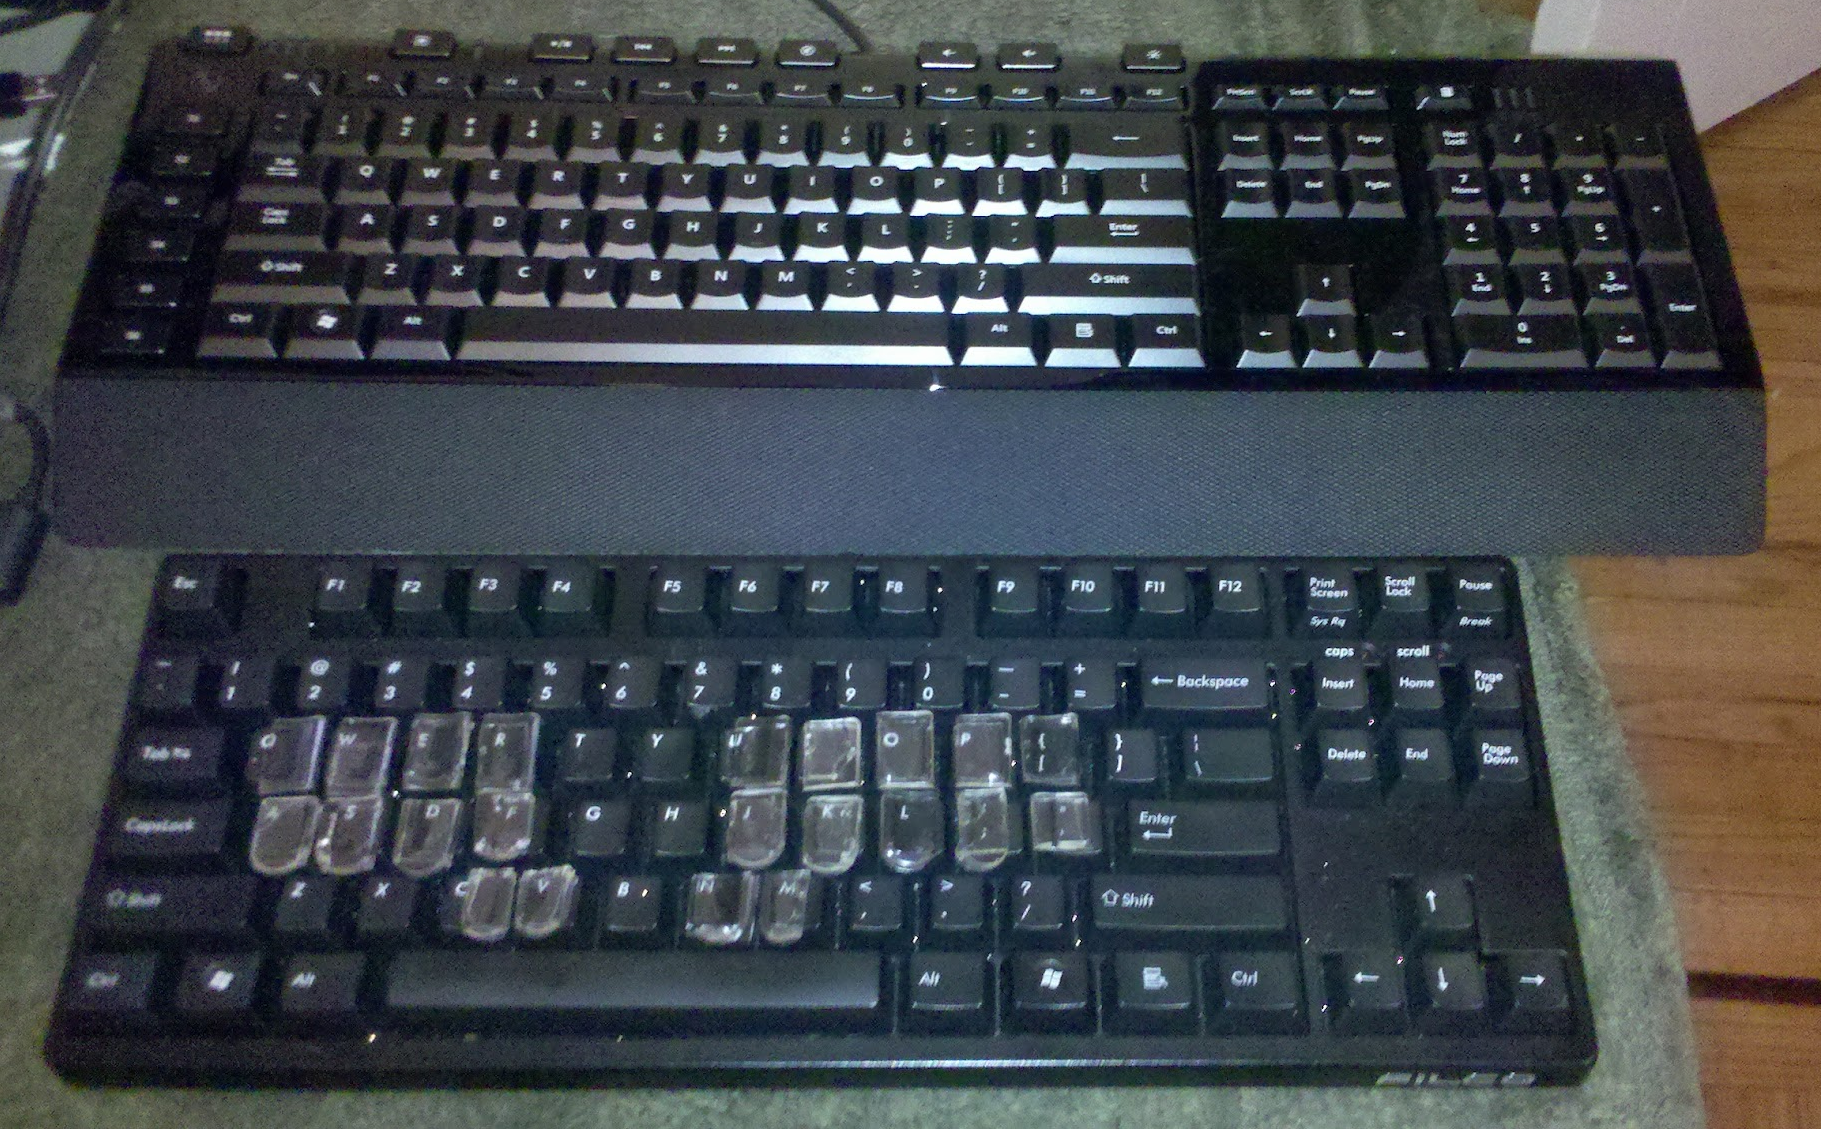
Here's what they look like on my Filco Majestouch Tenkeyless. Originally I tried sticking them on with heavy-duty mounting foam, but they all came off way too easily, so I got some U-Glu at the drugstore, which seems to be working a lot better. It also comes in pre-cut little squares, which makes the sticking-on process a lot less tedious. So how does the altered keyboard feel? I have to say it's not half bad. I transcribed about 20 minutes of audio using it on the train home, and there was a definite improvement of comfort and accuracy over the keyboard without the keytoppers. It was really nice to have the columns lined up properly, and I found myself making fewer misstrokes due to inadvertently dropping keys. It's still not as smooth or easy as on my $4,000 Infinity Ergonomic, of course, but it's really not half bad. One thing I'd like to do is to build up the lower row a bit so that it's at the same depth as the upper row, but I'm not really sure what I can use that's both of a consistent thickness and reliably sticky. The U-Glu has been pretty tenacious so far; no lost keys after a day of banging around in my backpack. It's far from attractive, but I'm hoping to find some black pigment to mix into the next few batches, so that I won't have to look through the key toppers and smudgy glue squares to the distorted qwerty key labels beneath.
Majestouches retail at around $120, though, so that's still not quite affordable for the workshop. I'm hoping to give everyone Microsoft Sidewinder X4s, which can be purchased for around $45 a pop. On the Majestouch, I stuck the keys on fairly haphazardly. You can see that they're uneven shapes and not quite lined up. It's tricky to get them close enough together so that there's not much of a gap between rows, but not so close together that they overlap and interfere with the separate action of each key. It was also the most tedious part of the process, and took much more time and energy than the actual casting of the keys. Ideally, I'd like to be able to sell these keys as a kit, including a printable paper template that can be used to help with cutting and positioning each key in a quick, foolproof way. I know that a lot of Plover users also like alternating between steno and qwerty, so just supergluing the steno keys to the keyboard would cut out half of the keyboard's functionality for them.
Wish me luck!